How to convert text to speech using free software

In days gone by, text-to-speech software had two major drawbacks: it was expensive, and the resulting audio sounded unnaturally robotic. Thankfully, technology has come a long way, and now you can download some excellent text-to-speech tools completely free.
There are lots of reasons why you might want to convert text to speech. You might have dyslexia, or a sight problem that makes reading on a screen difficult. You might be learning a language and find it easier to understand when it’s spoken, or you might just want to listen to an book or blog post while you’re doing something else.
Whatever the reason, Balabolka (which roughly translates as 'chatter') is an excellent tool for the job. It can accept pretty much any text file format, there’s a great selection to choose from, and it features handy bookmarking tools that let you jump to a specific part of the text. Here’s how to get started with it...
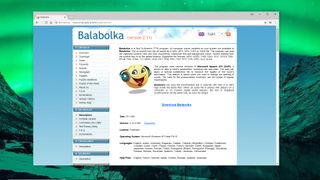
1. Get Balabolka
Download Balabolka, extract the contents of the compressed archive balabolka.zip to a convenient folder on your PC, then double-click the setup file to run it. Choose your preferred language, then click ‘Next’ to step through the installer. When it’s done, check the box marked ‘Launch Balabolka now’ and click ‘Finish’.

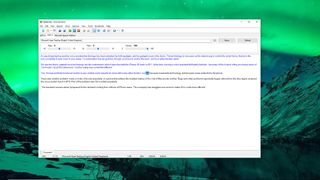
2. Convert some text
Balabolka looks a little like a simple word processor, and the easiest way to see how it works is to type or paste some text into the blank document provided. Click to position the blinking cursor at the beginning of the text, then click the green ‘Play’ button. The text will be read aloud using one of the default voices installed with Windows. You can also open all kinds of text documents in Balabolka, or have it read the contents of the clipboard.

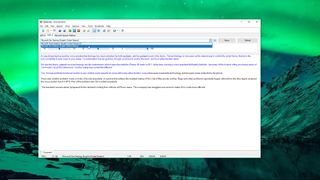
3. Choose a different voice
If you’re not a fan of the default voice (in this case Microsoft Hazel Desktop, which is female with a UK accent), you can see which others are installed on your PC using the drop-down menu above the text entry box. You can also use the sliders underneath to adjust the rate, pitch and volume of the voice. Rate is particularly useful – the standard voices sometimes speak a little slowly.

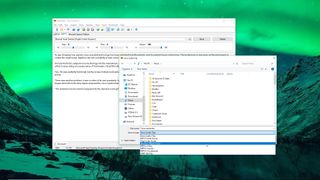
4. Save the speech
One of Balabolka’s best features is the ability to save converted text as a sound file you can listen to later. Click ‘File’ and select ‘Save audio file’. You can choose from all the most common sound file formats, including MP3, WAV, OGG and WMA. It’s also possible to save the spoken text as an audiobook. It won't be the same as an audiobook read by a professional voice actor, but it's free.

5. Set bookmarks
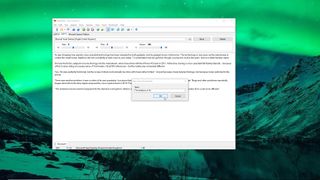
Balabolka allows you to set bookmarks, which will divide the document into chunks, making it much easier to navigate – particularly for long documents. Position the cursor in the text, then click ‘Bookmarks > Insert named bookmark’ and enter a name. Bookmarks are invisible, but you can skip between them by right-clicking and selecting ‘Go to named bookmark’.

6. Correct pronunciation
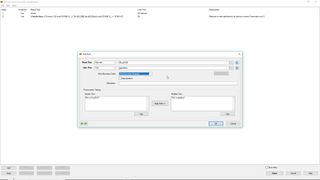
If Balabolka is struggling to say a particular word, click the ‘Panel of dictionaries’ button in the top menu and select 'sample.bxd'. Now right-click the word and select ‘Pronunciation’. Click the text box beside ‘Like this’ and type an approximate phonetic pronunciation of the word. Use the speaker icon to check how it sounds. When you’re happy, click ‘OK’, then ‘Save’.
7. Try speed-reading
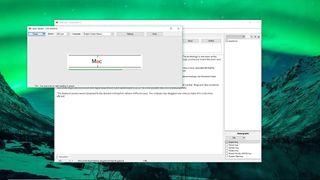
If you’re comfortable reading on a screen, but don’t have much time, Balabolka has Spritz built in. This is an interesting technology that displays words in very quick succession so you can read them without having to move your eyes. Move your cursor to the start of the text, then click ‘Tools > Spritz Reader’ and click ‘Read’. Once you’re used to Spritz, you should be able to get up to 400wpm quite easily!

8. Sync text
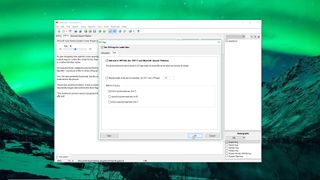
Some media players can display lyrics while a song is playing, and with a little tinkering you can set up your exported spoken word files to work the same way. Just click ‘File > ID3 tags’, check ‘Set ID3 tags for Audio files’, click the ‘Text’ tab and select ‘Add text to MP3 files’. The words will now appear in sync with the spoken audio when you play the exported MP3.

Comments
Post a Comment